Omnibotika Help Center
Ticket Management
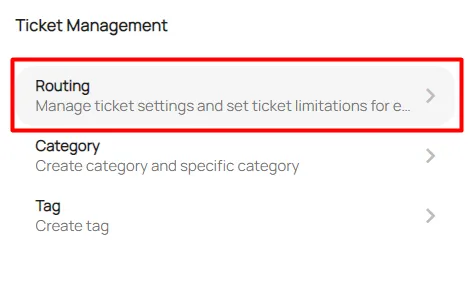
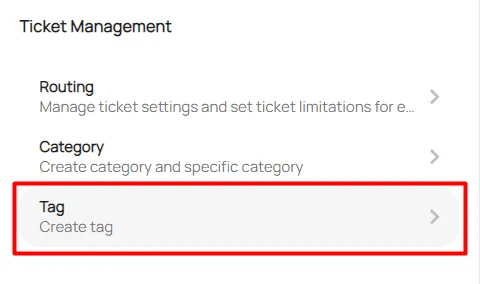
The ticket management menu has three sub-menus: Routing, Category, and Tags.
Routing
This is to sets the ticket transfer method and the maximum number of tickets that can be handled per agent for each channel. Here are some features to set up in Routing:
Select Ticket Management on workspace settings.
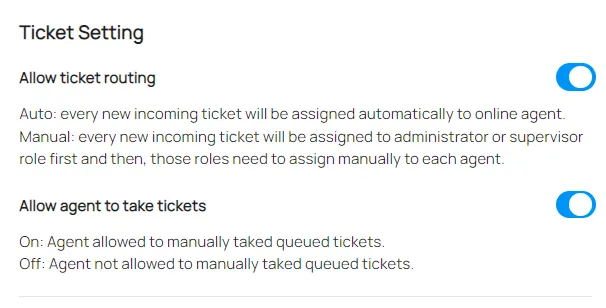
In the Ticket Setting section, you can make the following settings:
- Ticket Routings: Auto, means that the ticket will be assigned to the agent automatically. Manual, means that the ticket must be given manually to the agent.
- Take Ticket by Agent : Agents can take tickets directly in the queue independently.
Set Ticket Limitation for Each Channel. You can limit the maximum ticket that an agent can receive for various integrated channels.
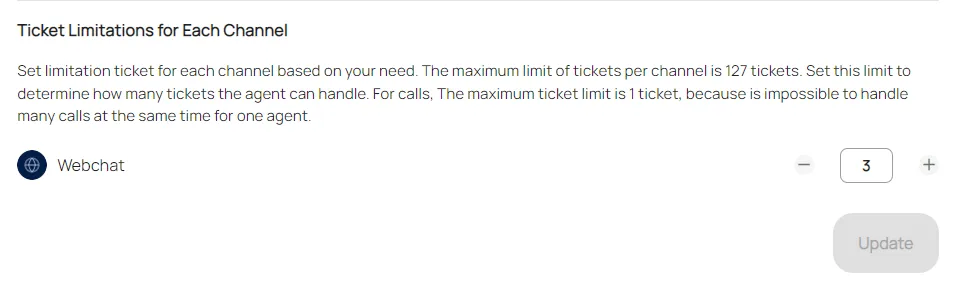
Click update to confirm changes.
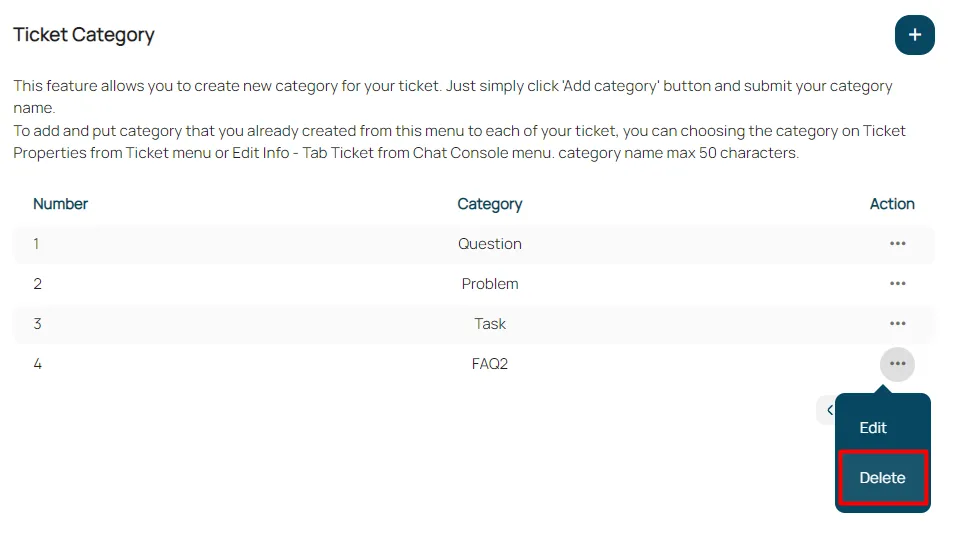
Category
This is to add new categories or edit and delete existing categories. Here are some features to set up in Category:
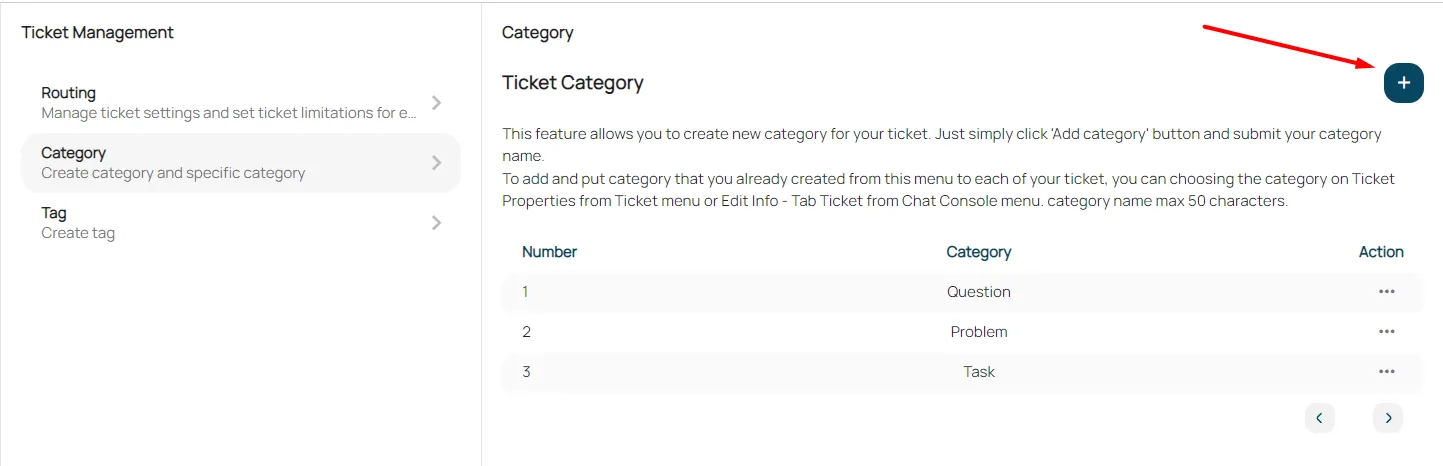
On the tickets & routing menu, click a category.

Click the Button (+) Category, to add a category.
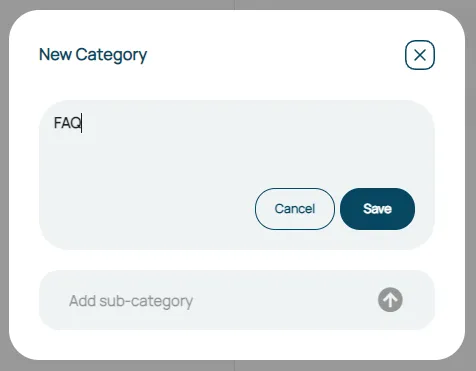
Fill in the name of the category you want to add, then click save.
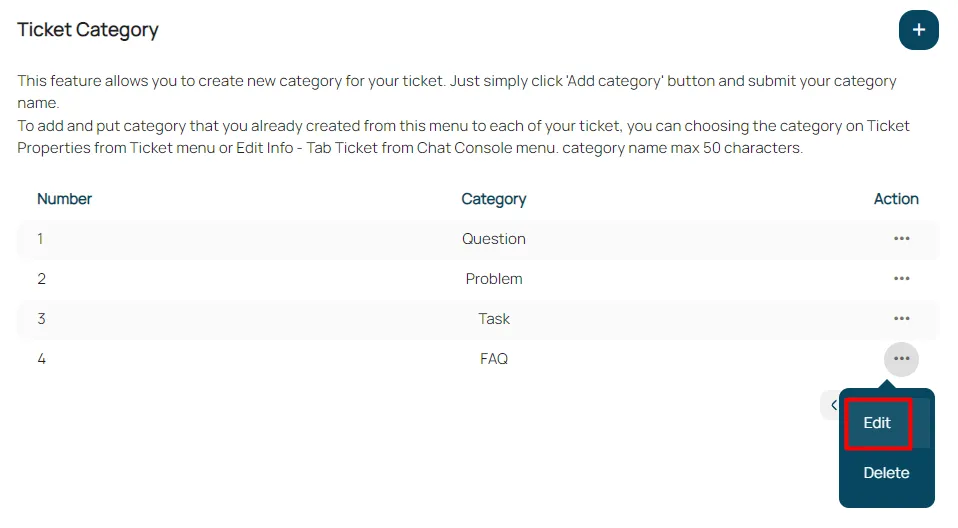
Edit Category: Click the edit icon in the category.
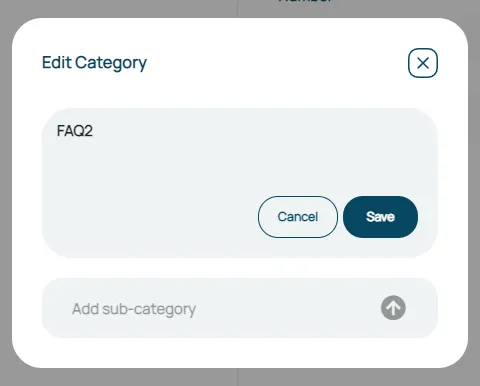
Edit Category Name, then click save.
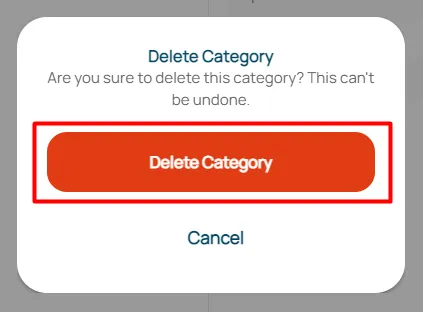
Delete Category : Click the delete icon on the category.
Click confirm to delete.
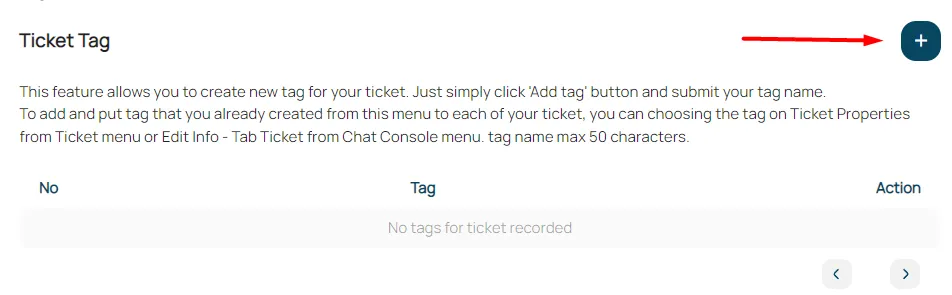
Tags
This is to add new tags or edit and delete existing categories. Here are some features to set up in Tags:
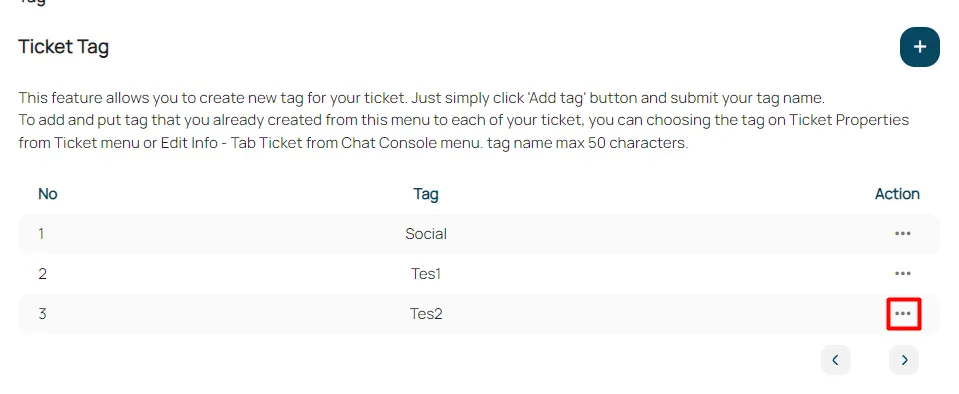
On the tickets & routing menu, click tab tags.
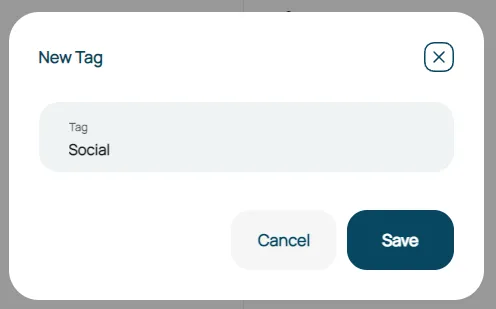
Click Button (+) tags, to add tags.
Fill in the name of the tag you want to add, then click save.
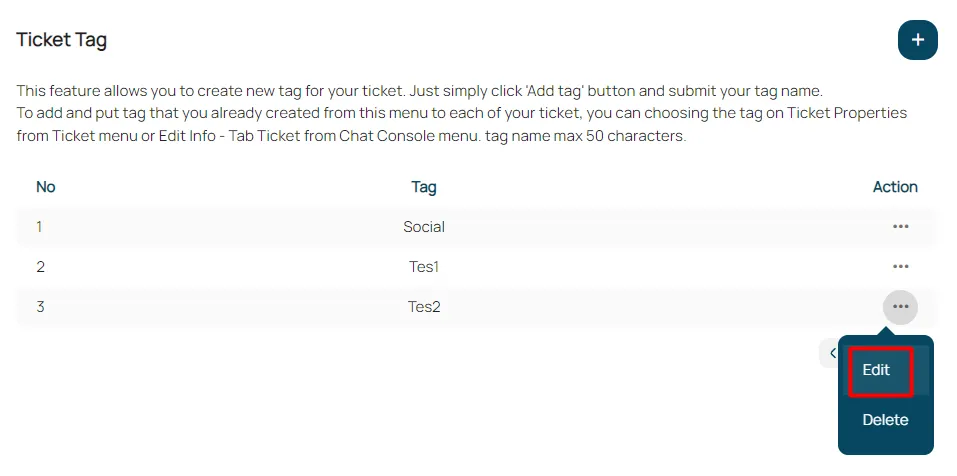
Edit Tag : Click the edit icon on tags.
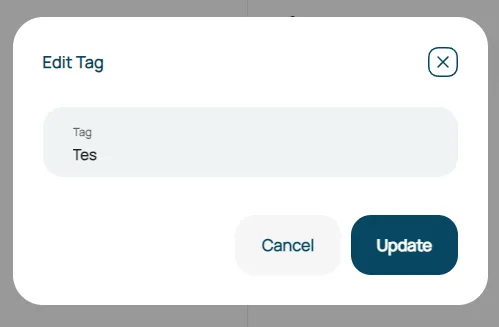
Edit Tag’s name, then click save.
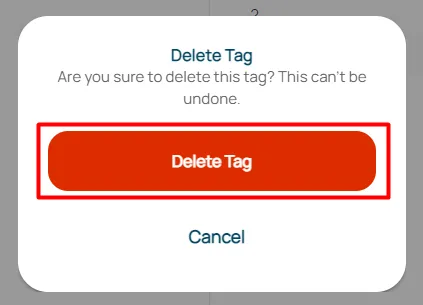
Delete Tag : Click the delete icon on tags.

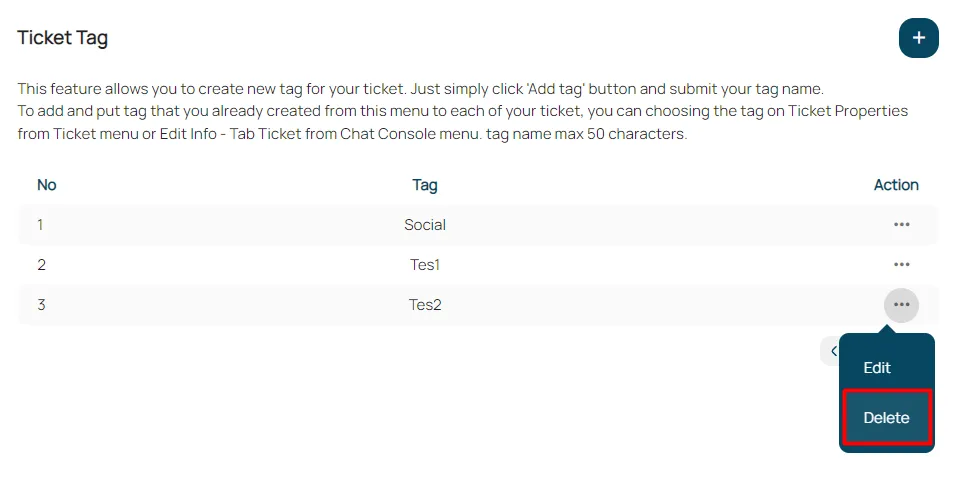
Click confirm to delete tag.